What Filters Should I Get For My Telescope?
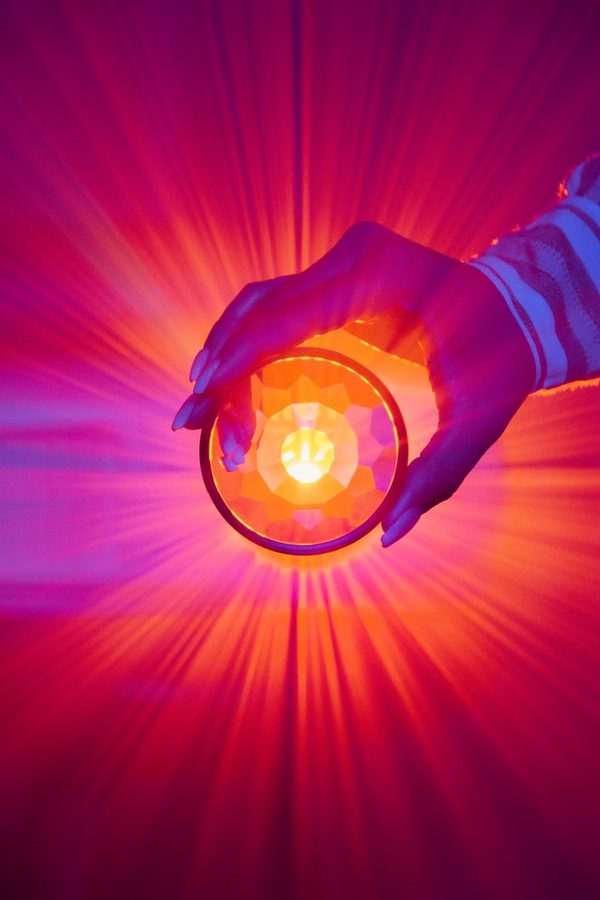
There are so many telescope eyepiece filters out there, how do you know which one does what?
In this simple guide, we’ll clear the air and help you find the best pick and best budget options for your telescope.
But first…
Are Telescope Filters Worth It?
You might be wondering what all the buzz is about. Maybe you purchased a Celestron eyepiece kit and it came with some planetary filters. You used them once or twice and stuck them back in the case, never to be touched again, or perhaps you still like them for teasing out the detail in Jupiter and Saturn, even if it makes the color a bit wonky.
In any case, those little color filters and moon filters that come with most eyepiece kits are not the same thing we are talking about here. They have their place, but they are much simpler by design, which allows them to sell at a low price.
The filters we want to talk about are the spendy ones that look like some kind of neon tint was put on them. What are these astronomy filters? What do they do? We’ll fill you in so you can make the best decision easily.
Polarizing Filters
These are most generally used on the moon. Some kits come with tinted glass “Moon filters” that dim the moon just fine, but you might start to notice a loss of contrast as well. The same thing happens in photoshop when you dim the brightness of an image, not any fault of the filter.
Think sunglasses. They all block light, some of them UVA and UVB, but look through a pair of polarized lenses and a pair that is not, and you’ll see the difference.
Glare reduction is one of the main elements here, which make polarized glass wonderful for astrophotography of bright objects as well.
The second is contrast increase. With the SVBONY linear polarizer and others like it, you’ll get 13% light transmission, making the moon about 1/8th as bright, which also enhancing contrast rather than reducing it. Glare reduction comes standard.
You can also opt for a variable polarizer, meaning adjustable. These have two stacked polarized lenses, and by twisting them you can lighten or darken the image as much as you please. One of our favorites is the Celestron filter that offers light transmission from 1%-40%.
Don’t be afraid to experiment, either. These can make viewing Jupiter or Venus much more pleasant. Just please don’t use them on the sun.
Speaking of...
Solar Filters
First off, a note on safety. Friends don’t let friends use eyepiece threaded filters for viewing the Sun. Got it? That said, they are your eyes, but understand that things can break, focused sunlight is really hot, and if that filter cracks while you are looking you are going to cause some eye damage.
Solar filters are wonderful. The budget minded can pick up filters that look like Mylar plastic trapped in a plastic or cardboard ring that fits over the end of your scope tube. Don’t worry about the ripples, they don’t cause viewing problems.
We like to recommend glass filters because they are just super handy and more resistant to problems than the Mylar. And the color is better. If you were doing an eclipse shoebox setup, that might not matter so much, but for really awesome solar viewing, you want a white light filter, such as the Orion 4.10” OD Full Aperture Solar Filter.
Yes, glass costs a little more, but the difference is huge. Be sure to find a size that will fit over the end of your scope. Most come with mounting tape of some kind, but I prefer insulation tape with a sticky on one side placed inside the filter for a cozy friction fit to the end of my ST80.
I’ll totally admit that I use film on 8” and larger scopes, because glass gets really expensive in those ranges.
For viewing the sun, there is no substitute. That said, there are other filters that can further enhance your solar viewing.
Solar Viewing With a Coronado
Get ready for sticker shock.
Not only are proper solar setups hard to find, they are also quite expensive, ranging from a few hundred to a few thousand dollars. You really need to ask yourself if being able to see flares and prominences is something you are interested in enough to drop that kind of cash on a setup.
People have tried all kinds of combinations over the years, but in the end, the best value in this department is still a little pricey. It means getting a solar scope that comes set up and ready to use. The Meade Coronado is such a scope. The other option is to wait for a total eclipse.
The Coronado will let you see all of the details on the solar surface that are normally hidden because the white-light photosphere is so bright that it outshines the corona. The filter combination in this scope is a bit complex, and cannot be replicated in a standard filter. It basically blocks every wavelength of light except for a certain H-Alpha line that is tuned to the corona itself.
With it, you will see prominences, dark filiments, and all kinds of peach-fuzz associated with the outermost layer of the Sun’s atmosphere.
You can, of course, add this functionality to a normal scope, but you will have to get an Etalon filter and a special blocking filter, and neither are cheap. Not only that, but you will run into tuning problems with the filters if you try to go low-cost.
Solar viewing can be expensive, but sunspots can be seen with normal white-light filters or projection.
H-Alpha Filters for Astrophotography
Aside from solar viewing with the filters above, they hydrogen-alpha spectrum is also useful to astrophotographers for deepening contrast of faint emission nebulae.
These are generally labeled as “night” filters so as not to be confused with the solar filters, which have a much narrower bandwidth.
Unfortunately, you aren’t going to see much with these through your scope. The range that they deal in is infrared, but unlike the sun, the objects in the night sky that respond well to this kind of filter are so dim that they can barely be detected, at least in this part of the spectrum.
I’m including it here to prevent the unwary from accidentally purchasing one without understanding that these are only effective for serious photographers with specialty equipment or DLSR cameras that have be specially modified to detect infrared light.
The hydrogen filter for viewing is the H-Beta.
H-Beta
H-Beta filters are serious workhorses for serious astronomers who want to push their deep-sky viewing to the limit of their equipment and sky conditions.
They aren’t cheap, most of them upwards of $100 for a good one like Orion’s Hydrogen-Beta filter for 1.25” eyepieces. But they are worth every penny if you want to actually see dim emission nebula with anything less than a 12” mirror.
Even a humble 8” Dobsonian scope under dark skies will barely be able to detect these mysterious deep-sky objects like the Horsehead Nebula, but with an H-Beta filter, you can up the contrast to the point that puts it in reach.
It still depends a lot on your skies, but we are talking about incredibly hard targets.
In fact, ordinary emission nebulae of any kind become much easier to see with this filter. It restricts the light reaching your eye to a very narrow range of colors. The sky behind the object gets darker, nearly flat black, and this causes the faint nebulousity to “pop” out of the background.
Unfortunately, they only really work for some targets. Galaxies won’t be made easier to see with an H-Beta, but they are still well worth the investment.
Oxygen III Filters for Planetary Nebulae
The H-Beta has a cousin that works well on planetary nebula and other diffuse objects, and generally doesn’t cost quite as much.
The Oxygen III, or O-III filter, is used on diffuse and planetary nebulas, as well as double-star systems. Some popular targets are the Veil Nebula (try this with just the filter and no telescope if you get a chance), the Ring Nebula, the Dumbbell Nebula, and the Orion Nebula.
With the exception of the Veil, most of these are pretty easy targets that can be viewed at pretty good magnification and without a huge aperture scope, but the O-III really enhances the view by upping the contrast quite a bit. The results are spectactular.
And the best part is, they don’t cost a ton of money. The Zhumell O-III usually runs for about $50, and is from one of our favorite optical brands.
Light Pollution Filters
Forgive me for making a slight breach of etiquette here, but I’m going to lump a couple of different filters into this category, as most of these are designed to do the same thing, they just do it a bit differently.
First up are your standard light pollution filters. The glass in these filters is coated with a series of layer that are designed to notch out specific wavelengths of light while letting everything else through. They mainly target the spectrums of mercury vapor, sodium vapor, and other halogen colors.
Basically, they target man-made light and screen it out, darkening the sky with minimal effect on the stars and galaxies above.
They aren’t perfect, and bright city skylines have a much wider range of light pollution that will thwart your attempt to use these, but from the suburbs or some brighter park areas, they work quite well.
If you have a dark sky site that isn’t perfectly dark, they can be a real boost, but past a certain threshold they will remove light from your view. We don’t recommend them in the middle of the desert 100 miles from the nearest trace of human civilization, but for those of us who aren’t so blessed, they work well.
UHC filters are basically a light-pollution filter on steroids. They increase the contrast a lot more, but also block more of the light from your view. They come in a variety of bandwidth sizes for different situations and can sometimes be incredible for seeing nebulae near city lights. They also work on other deep-sky objects.
One thing you should know is that not all off these light pollution filters are equal, even within the same brand and model. Tolerances can be a little tight when it comes to filtering tiny emission lines from your view, and there is definitely a difference in price.
A good middle-of-the-road UHC that we’ve found has been the Orion UltraBlock filters. Generally they are of good quality and up the contrast quite a bit when we can’t get out to a secluded location.
Another thing about light-pollution filters is that they tend to be picky when it comes to eyepieces and exit pupils. If it isn’t doing what you want, try using it with another eyepiece before discounting its functionality. I have an expensive Lumicon that only likes my 20-25mm eyepieces for some reason, even more than the lower magnification views.
It’s weird, and it sounds backwards, but try upping the magnification a bit and see what happens.
Conclusions
Filters can be a bit scary to navigate if you are a beginner, but there really aren’t too many choices out there that will make or break you.
If you are forced to suffer light pollution, then a UHC or a Skyglow filter of some type will be a good companion to have.
If you really want to tune out everything except that deep sky object that you’ve been stalking, and perhaps only caught a glimpse of while bumping the scope before it disappeared again, then an O-III or H-Beta might be just the thing to bring it into view.
The filters we are discussing here are not the run of the mill color shades that come with eyepiece kits, they are specially designed and optimized for different things, mostly increasing contrast from the faint fuzzy you want to see and the glowing sky around it.
As such, they cost a little more than you might expect, but for those really terrific views and the added reach that they give your telescope to seek out new and difficult DSOs, they’re worth every penny.